Installation
Prerequisites
Section titled “Prerequisites”Make sure you have the following installed on your machine:
- Python (version 3.8 or higher)
- Node.js (for running this documentation site)
- Ollama (for running local AI models)
Step 1: Clone the Repository
Section titled “Step 1: Clone the Repository”Open your terminal and clone the GitHub repository, then navigate into the folder:
git clone https://github.com/Epic34-cyberdudder/Proto.gitcd ProtoStep 2: Create a Virtual Environment
Section titled “Step 2: Create a Virtual Environment”Create a Python virtual environment.
Windows
Section titled “Windows”python -m venv .venvmacOS/Linux
Section titled “macOS/Linux”python3 -m venv .venvStep 3: Activate the Virtual Environment
Section titled “Step 3: Activate the Virtual Environment”IMPORTANT: You must have the virtual environment activated before installing the requirements, running the bot, using the Fluttershy GUI, or building the executable.
Windows
Section titled “Windows”.venv\Scripts\activate.batmacOS/Linux
Section titled “macOS/Linux”source .venv/bin/activateAfter activation, your terminal should show something similar to:
(.venv) C:\Users\YourName\Proto>If you do not see (.venv) at the beginning of your terminal prompt, the virtual environment is not activated.
Step 4: Install the Requirements
Section titled “Step 4: Install the Requirements”Make sure your virtual environment is still activated.
Install the required Python packages:
pip install -r requirements.txtThen install the Chromium browser used by Playwright:
playwright install chromiumStep 5: Pull an Ollama Model
Section titled “Step 5: Pull an Ollama Model”Pull one of the recommended Ollama models:
ollama pull qwen2.5:7bor:
ollama pull qwen2.5:14bor:
ollama pull llama3.1:8bMake sure the model you install matches the model configured in the .py script.
Step 6: Build the Fluttershy GUI
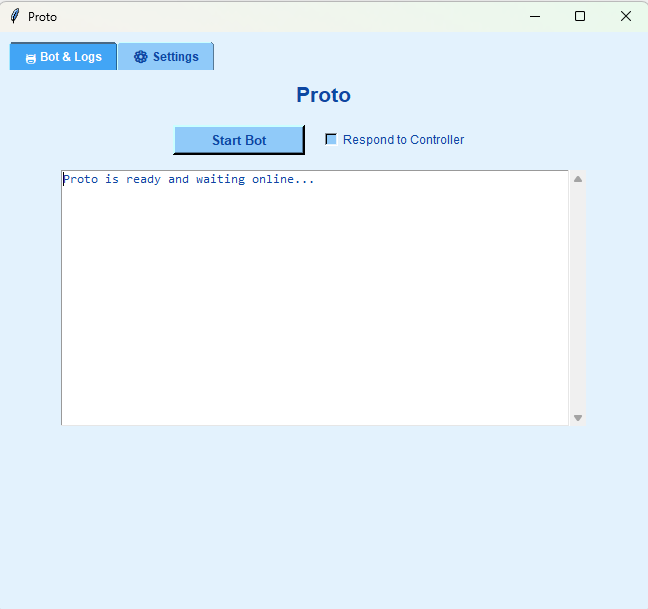
Section titled “Step 6: Build the Fluttershy GUI”The project includes a Fluttershy GUI and a build.py script that can package the GUI into an executable.
IMPORTANT: Your virtual environment must be activated before running build.py.
With (.venv) visible in your terminal, run:
python build.pyThe build script will package fluttershy.py into an .exe.
After the build completes, check the project’s output/build directory for the generated executable.
If
(.venv)is not shown in your terminal, stop and activate the virtual environment before runningbuild.py.
Step 7: Run the Fluttershy GUI
Section titled “Step 7: Run the Fluttershy GUI”Once the executable has been built, you can launch the generated .exe.
Alternatively, you can run the GUI directly from Python while your virtual environment is activated:
python fluttershy.pyStep 8: Run Chrome in Debug Mode
Section titled “Step 8: Run Chrome in Debug Mode”To allow the application to connect to a dedicated Chrome debugging session, start Chrome with remote debugging enabled.
Windows
Section titled “Windows”"C:\Program Files\Google\Chrome\Application\chrome.exe" --remote-debugging-port=9222 --user-data-dir="C:\chrome_dev_profile"google-chrome --remote-debugging-port=9222 --user-data-dir="$HOME/chrome_dev_profile"/Applications/Google\ Chrome.app/Contents/MacOS/Google\ Chrome --remote-debugging-port=9222 --user-data-dir="$HOME/chrome_dev_profile"Step 9: Log In
Section titled “Step 9: Log In”Log in to the required service in the new Chrome window.
Important: use a dedicated browser profile for this application and do not share your session data, cookies, or credentials.
Step 10: Configure the Bot
Section titled “Step 10: Configure the Bot”Open Discord_bot.py and adjust the Ollama model to the model you installed.
You can also configure whether you want sarcasm enabled, if that option is available in the script.
Step 11: Run Discord_bot.py
Section titled “Step 11: Run Discord_bot.py”Make sure your virtual environment is activated.
Run:
python Discord_bot.py🎉 Finished!
Section titled “🎉 Finished!”Your bot should now be running.
Now Enjoy Your Bot!